Male Jack
This process will differ depending on what kind of cable you get.
For the male jack, unlike the female jack (socket), I recommend buying an audio cable. I don’t recommend buying the jack and attaching wires yourself because you are going to want the wire on this to be long. Unlike the female jack which is usually a few inches, you want this one to be a few feet long.
The Basic Steps for All of Male to Male Cables
Cut The Wire in Half
Basically you are going to need to cut the wire in half or as long as you want the cord for the switch to be. Many commercial switches are 3 to 4 feet long, so that should help you have and idea about how long to cut it. Sometimes you might make is a little shorter so you can get 2 out of one cord.
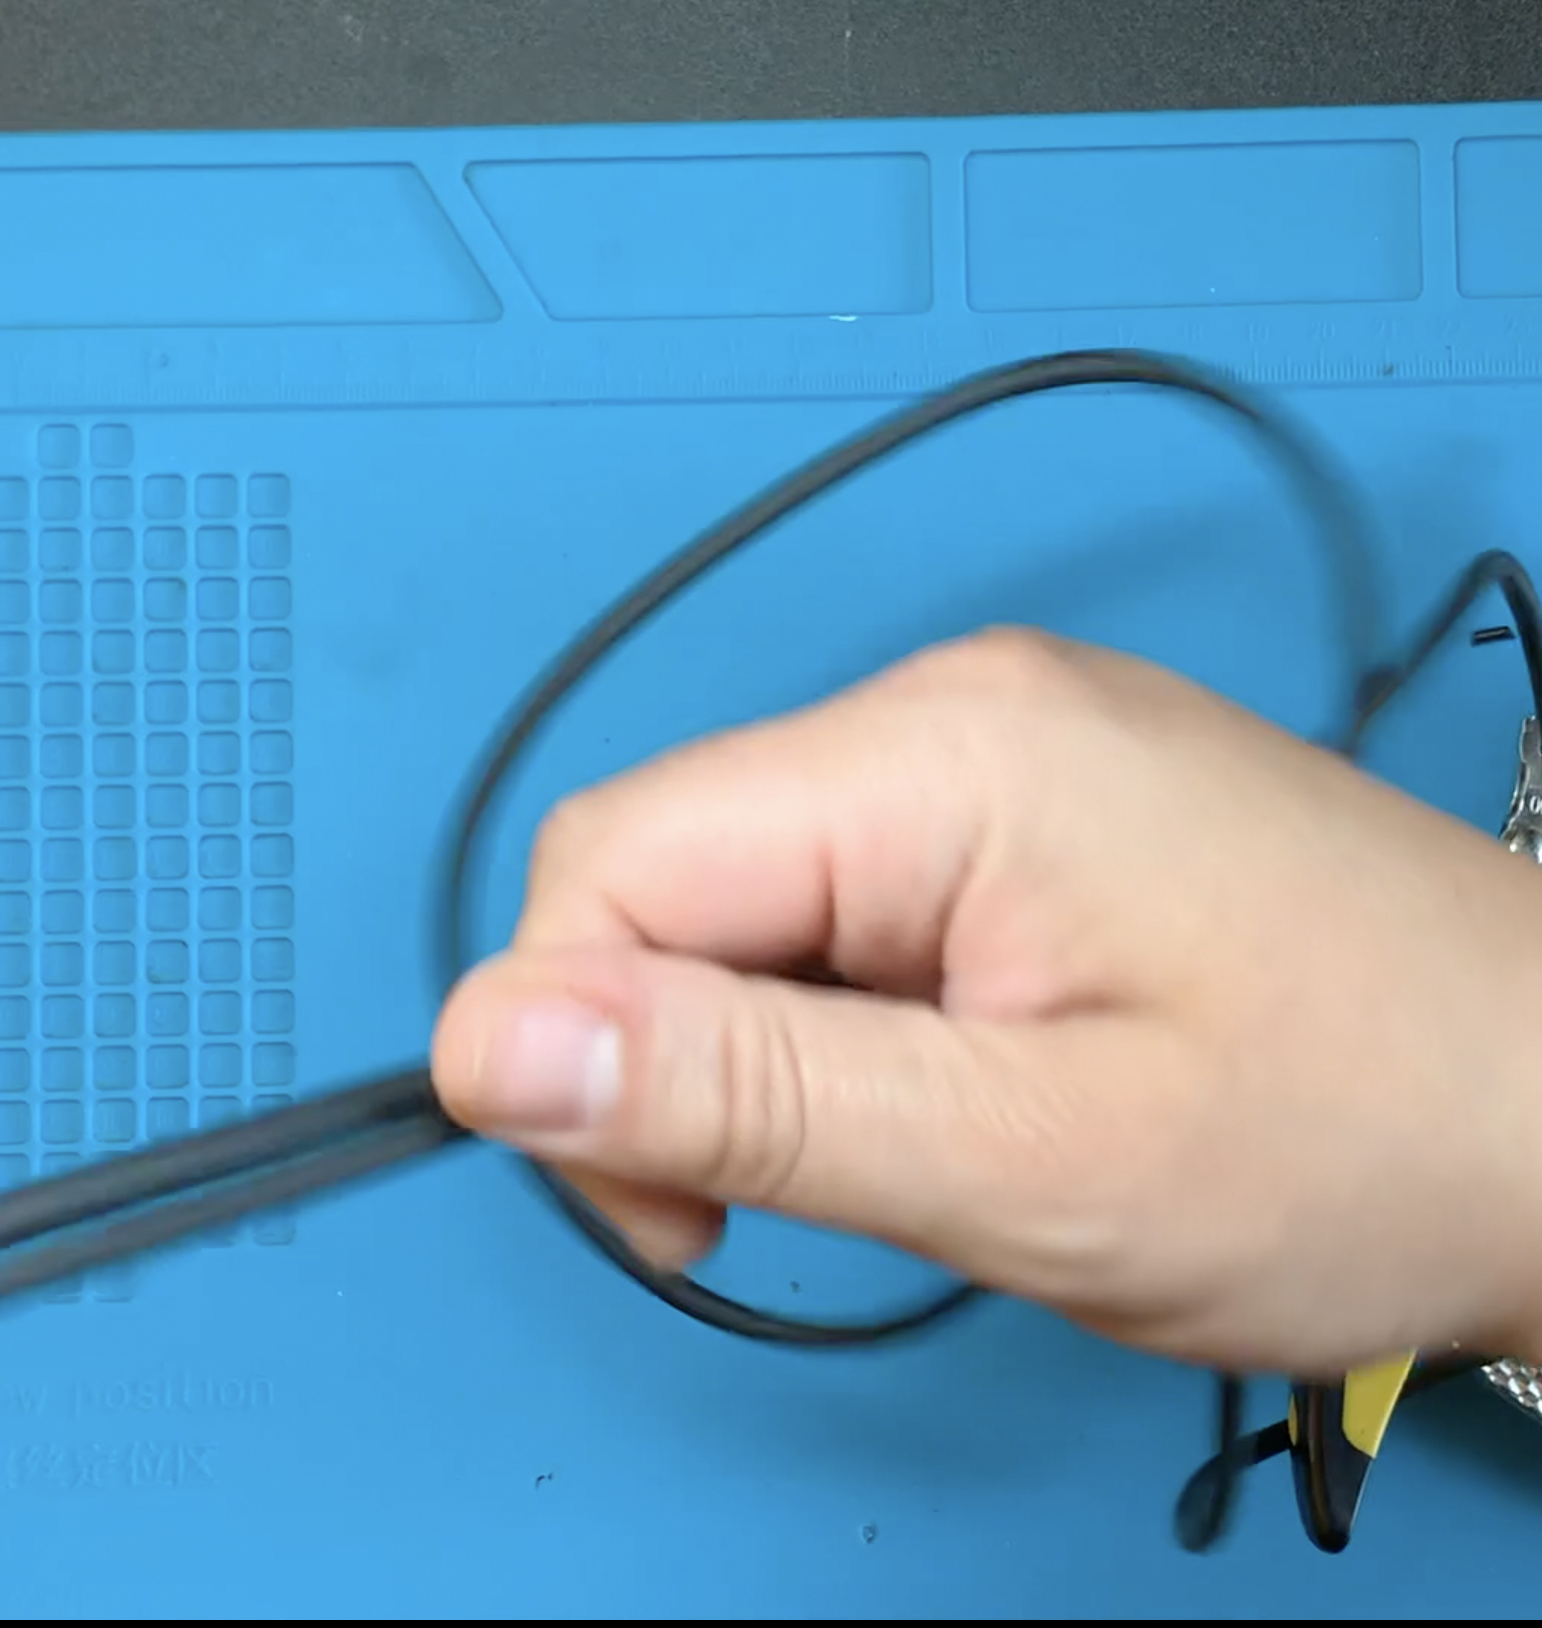
In order to do that, I put the two male jacks from each of the audio cables next to each other and then followed the two wires down until I got to the end of the cord and then I cut it.
Cut The Outer Plastic Casing on The Wires.
Use your utility knife to cut a small slit in the plastic casing of the wires.
IMPORTANT NOTE: You want to apply light pressure to the utility knife because you don’t want to make a deep cut. The deeper the cut, the greater likelihood there is that you will cut wires on the inside.
What I usually do is make a very light cut and then use my nails to try to rip the casing off.
One you have separated the wires from the outer casing, can use your utility knife to make a slightly longer cut in the outer casing. After you doing the initial small cut, it is easier to see the internal wires and you can now make a slightly longer cut without cutting the inner wire.
Once you cut the casing, you will see the inner wires and pull them out. The inside wires’ looks like will differ depending on the brand of audio cable you use.
In this case, there are 2 wires on the inside but only one of the inner wires has its own casing. In other brands, there could be casing on both inner wires.
Cut Off The Excess of the Outter Casing
Using a utility knife, cut off the excess black casing. When you do this make sure that you move the inner wires out of the way so you don’t accidentally cut them.
Strip The Inner Wire(s)
The number of inner wires you will need to strip depends on the brand of audio cable you purchased.
Some of the audio cables with 2 wires inside may have both of the inner wires in their own casing.
This brand however, only has one of the 2 wires in its own casing and the second wire is loose.
Now you are ready to use this male jack for a project. Check out the DIY switches gallery for some ideas.


